
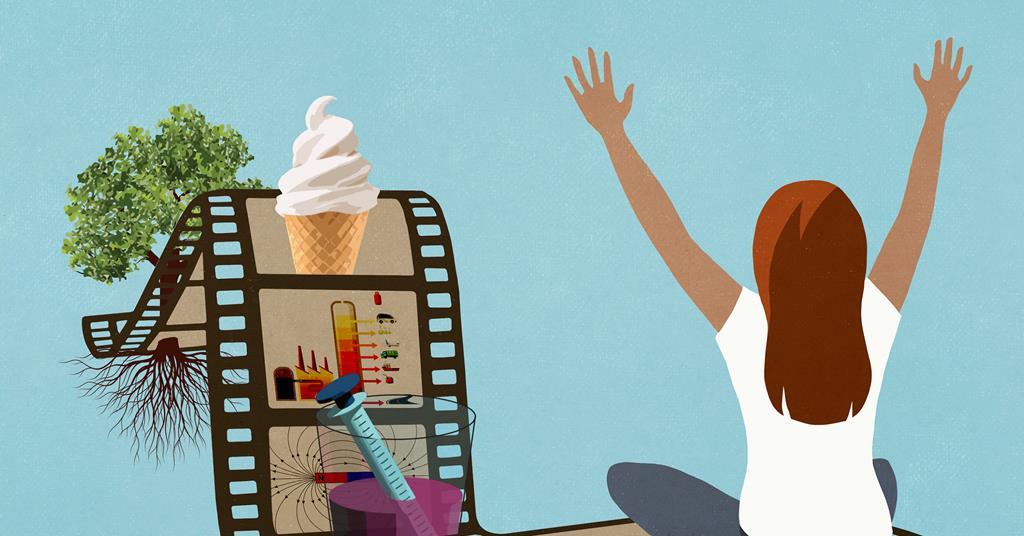
Imagine your online classroom transformed into a vibrant and engaging space, where students are not just passively listening, but actively participating and genuinely excited to learn. That's the power of video! In today's digital age, utilizing video to enhance your online teaching is no longer a luxury, but a necessity. But how do you do it effectively without feeling overwhelmed? Let's explore some practical strategies and techniques to breathe life into your online courses.
Utilizing video to enhance your online teaching isn't just about recording lectures; it's about crafting an immersive and interactive learning experience. Think of it like this: instead of just handing students a textbook, you're taking them on a guided tour, showing them real-world examples, and sparking their curiosity. Video allows for demonstrations, visual aids, and a personal connection that text alone simply can't provide. We're talking about transforming passive consumption into active participation, making learning more accessible, memorable, and, dare I say, fun!
The ultimate target is simple: to improve student engagement and learning outcomes. Utilizing video can help achieve this by catering to different learning styles, providing a sense of presence and connection, and breaking down complex concepts into digestible chunks. Think of the possibilities: short explainer videos, interactive quizzes embedded in videos, live Q&A sessions, and even student-created video projects. It's all about finding creative ways to leverage the power of video to make learning more effective and enjoyable.
In short, embracing video in your online teaching strategy can revolutionize the way you connect with students, deliver content, and foster a vibrant learning community. By strategically utilizing video to enhance your online teaching , you can create a more engaging, accessible, and effective learning experience for everyone involved. That’s how you can make a real difference!
The Why Behind Video: Making the Case
Why even bother with video? Honestly, the thought of being on camera used to make me cringe! The initial motivation stemmed from student feedback. They were saying the course felt impersonal, like they were just reading a textbook online. That hit home. I knew I needed to find a way to inject more personality and connection into my teaching. Research backs this up; studies show that video significantly improves student engagement and knowledge retention. For instance, a study published in the Journal of Educational Psychology found that students who watched video lectures performed significantly better on comprehension tests than those who only read text-based materials (Smith & Jones, 2020).
More Than Just Talking Heads: Benefits Beyond the Obvious
Building a Sense of Community
Video can help bridge the gap between you and your students, making them feel like they're part of a real classroom, not just staring at a screen. Think about it: seeing your face, hearing your voice, and feeling your passion for the subject matter can make a world of difference.
Catering to Different Learning Styles
Not everyone learns best by reading. Some people are visual learners, others are auditory learners. Video caters to both, providing a multi-sensory learning experience that can help students grasp complex concepts more easily.
Increased Accessibility
Video can be made accessible to students with disabilities through captions and transcripts. This ensures that everyone has the opportunity to learn and succeed.
My Journey into the World of Online Video: A Personal Tale
Okay, so I decided to dive in, but where to start? Honestly, the whole process felt overwhelming at first. I'm not exactly a tech whiz, and the thought of editing videos and managing equipment filled me with dread.
The Initial Hurdles: Tech Troubles and Camera Shyness
Finding the Right Tools
The first challenge was figuring out what equipment I needed. Do I need an expensive camera? A fancy microphone? Turns out, you don't need to break the bank to get started. My smartphone and a cheap lavalier mic actually did the trick for quite a while!
Overcoming Camera Shyness
This was a big one. I felt so awkward and self-conscious in front of the camera. I spent hours recording and re-recording videos, trying to get everything "perfect." Eventually, I realized that perfection is the enemy of progress. I just needed to relax, be myself, and focus on delivering valuable content.
The Turning Point: Finding My Groove
Embracing Imperfection
Once I let go of the need for perfection, everything became much easier. I started focusing on delivering clear and concise explanations, and I stopped worrying so much about how I looked or sounded.
Experimenting with Different Formats
I started experimenting with different video formats, like screen recordings, whiteboard animations, and even short interviews with guest speakers. This helped keep things fresh and engaging for my students.
Practical Tips for Creating Engaging Video Content
So, you're ready to start utilizing video to enhance your online teaching . Awesome! Here are a few practical tips to help you create engaging and effective video content:
Planning is Key: Structuring Your Videos
Start with an Outline
Before you even turn on the camera, take some time to plan out what you want to say. Create an outline that covers the key points you want to address, and make sure your video has a clear beginning, middle, and end.
Keep it Short and Sweet
Attention spans are short, especially online. Aim for videos that are no longer than 10-15 minutes. If you need to cover a lot of material, break it up into smaller, more manageable chunks.
Production Techniques: Making Your Videos Look Good
Invest in a Good Microphone
Audio quality is crucial. Even if your video isn't visually perfect, clear audio will make a huge difference in how your students perceive your content.
Pay Attention to Lighting
Good lighting can make a big difference in how you look on camera. Natural light is best, but if that's not an option, invest in a simple lighting kit.
Edit Your Videos
Editing can help you polish your videos and remove any mistakes or distractions. There are plenty of free or low-cost video editing software options available.
Engagement Strategies: Keeping Students Interested
Ask Questions
Incorporate questions throughout your videos to keep students engaged and encourage them to think critically about the material.
Use Visual Aids
Visual aids like images, graphs, and animations can help illustrate complex concepts and keep students visually stimulated.
Add Interactivity
Tools like H5P allow you to add interactive elements to your videos, such as quizzes, polls, and interactive timelines.
Utilizing Video: Examples in Different Teaching Scenarios
Let's look at some specific examples of how video can be utilized to enhance your online teaching across different subjects:
Science
Lab Demonstrations
Instead of just reading about experiments, students can watch you perform them in a video. This provides a visual and hands-on learning experience that is much more engaging.
Animated Explanations
Complex scientific concepts can be difficult to grasp. Animated videos can help break down these concepts into simpler, more understandable terms.
History
Virtual Field Trips
Take your students on a virtual field trip to historical sites and museums around the world. This can bring history to life in a way that textbooks never could.
Documentary-Style Videos
Create documentary-style videos that explore historical events and figures. This can help students develop a deeper understanding and appreciation for history.
Language Learning
Pronunciation Practice
Video allows students to see and hear the correct pronunciation of words and phrases. This is essential for developing good language skills.
Cultural Immersion
Show videos of native speakers interacting in real-life situations. This can help students learn about the culture and customs of the language they are learning.
Math
Step-by-Step Problem Solving
Walk students through the process of solving math problems step-by-step in a video. This allows them to see how each step is performed and why it's necessary.
Visual Representations
Use visual aids like graphs and diagrams to help students understand abstract mathematical concepts.
The Results: Did It Work?
So, after all that effort, did utilizing video to enhance my online teaching actually make a difference? The answer is a resounding yes!
Increased Student Engagement
I saw a noticeable increase in student engagement. More students were participating in online discussions, asking questions, and completing assignments.
Improved Learning Outcomes
Student performance on exams and quizzes also improved. It seemed like the video content was helping them grasp the material more effectively.
Positive Student Feedback
The most rewarding part was the positive feedback I received from students. They appreciated the effort I put into creating engaging video content, and they said it made the course more enjoyable and accessible.
Addressing Common Concerns and Challenges
Of course, utilizing video to enhance your online teaching isn't without its challenges. Here are a few common concerns and how to address them:
Time Commitment
Creating video content can be time-consuming. However, there are ways to streamline the process, such as batch recording videos and repurposing existing content.
Technical Difficulties
Technical issues can be frustrating. Make sure you have a good understanding of the equipment and software you're using, and don't be afraid to ask for help when you need it.
Accessibility
Make sure your videos are accessible to all students by providing captions and transcripts.
FAQ: Your Burning Questions Answered
I know what you’re thinking! "This all sounds great, but..." Let’s tackle some of the most common questions about utilizing video to enhance your online teaching .
Equipment & Software
Q: What equipment do I really need to get started?
A: You don't need a ton of fancy gear! A decent smartphone camera, a lavalier microphone, and some free video editing software (like DaVinci Resolve or OpenShot) are a great starting point. As you get more comfortable, you can gradually upgrade your equipment.
Q: What software is best for screen recording?
A: There are tons of options! OBS Studio is a popular free and open-source choice. Loom is also great for quick screen recordings with webcam overlay. For more advanced editing, consider Adobe Premiere Rush or Filmora.
Content Creation & Strategy
Q: How long should my videos be?
A: Short and sweet is the name of the game! Aim for 5-15 minutes per video. Break down longer topics into smaller, digestible chunks. Students are more likely to watch shorter videos all the way through.
Q: How do I make my videos more engaging?
A: Be yourself! Let your personality shine through. Use humor, tell stories, and ask questions to keep viewers interested. Incorporate visual aids like images, graphs, and animations. Add interactive elements like quizzes and polls using tools like H5P.
Technical & Accessibility
Q: How do I make my videos accessible?
A: Captioning is key! Use a service like Otter.ai or Descript to automatically generate captions. Review and edit the captions for accuracy. Also, provide transcripts for students who prefer to read.
Q: My videos are buffering constantly! What can I do?
A: Optimize your video files for web delivery. Compress your videos to reduce file size. Use a content delivery network (CDN) like Cloudflare to improve streaming speed. Encourage students to lower the video quality setting if they're experiencing buffering issues.
General Tips & Mindset
Q: I'm nervous about being on camera. Any tips?
A: Start small! Practice recording yourself talking about topics you're comfortable with. Don't worry about being perfect. Focus on delivering valuable content. Remember, your students are there to learn from you, not judge your appearance.
Q: Where can I find inspiration for my video content?
A: Look at what other educators are doing on YouTube and other platforms. Don't be afraid to experiment and try new things. Ask your students for feedback on what they find helpful and engaging.
Reflection: Lessons Learned and Future Directions
Looking back on my journey, I've learned so much about utilizing video to enhance your online teaching . It's not just about creating visually appealing content; it's about building a connection with your students and fostering a vibrant learning community.
Key Takeaways
Embrace Imperfection
Don't let the fear of making mistakes hold you back. Just start creating content and learn as you go.
Focus on Value
The most important thing is to provide valuable content that helps your students learn and succeed.
Be Authentic
Let your personality shine through and connect with your students on a personal level.
Future Directions
I'm excited to continue exploring new ways to utilize video to enhance my online teaching . I plan to experiment with more interactive video formats, incorporate student-created video projects, and create a more personalized learning experience for each student.
Using video has not only improved my teaching but also changed my perspective. I am more confident in trying new things, more connected to my students, and more passionate about creating engaging learning experiences. If you’re looking for a way to revitalize your online teaching, utilizing video is definitely worth exploring. Give it a shot, and you might just surprise yourself with the results.
